

What You Can Learn From Tiger Woods About Custom Mouse Pads
페이지 정보
Writer Kassie Date Created25-01-03 14:12관련링크
본문
| Country | Switzerland | Company | Dragonrug Custom Mouse Pads CO KG |
| Name | Kassie | Phone | Robles Kassie Ltd |
| Cellphone | 526595817 | kassierobles@yahoo.com | |
| Address | Via Camischolas Sura 26 | ||
| Subject | What You Can Learn From Tiger Woods About Custom Mouse Pads | ||
| Content | DIY Delight: Crafting Your Own Custom Mouse Pad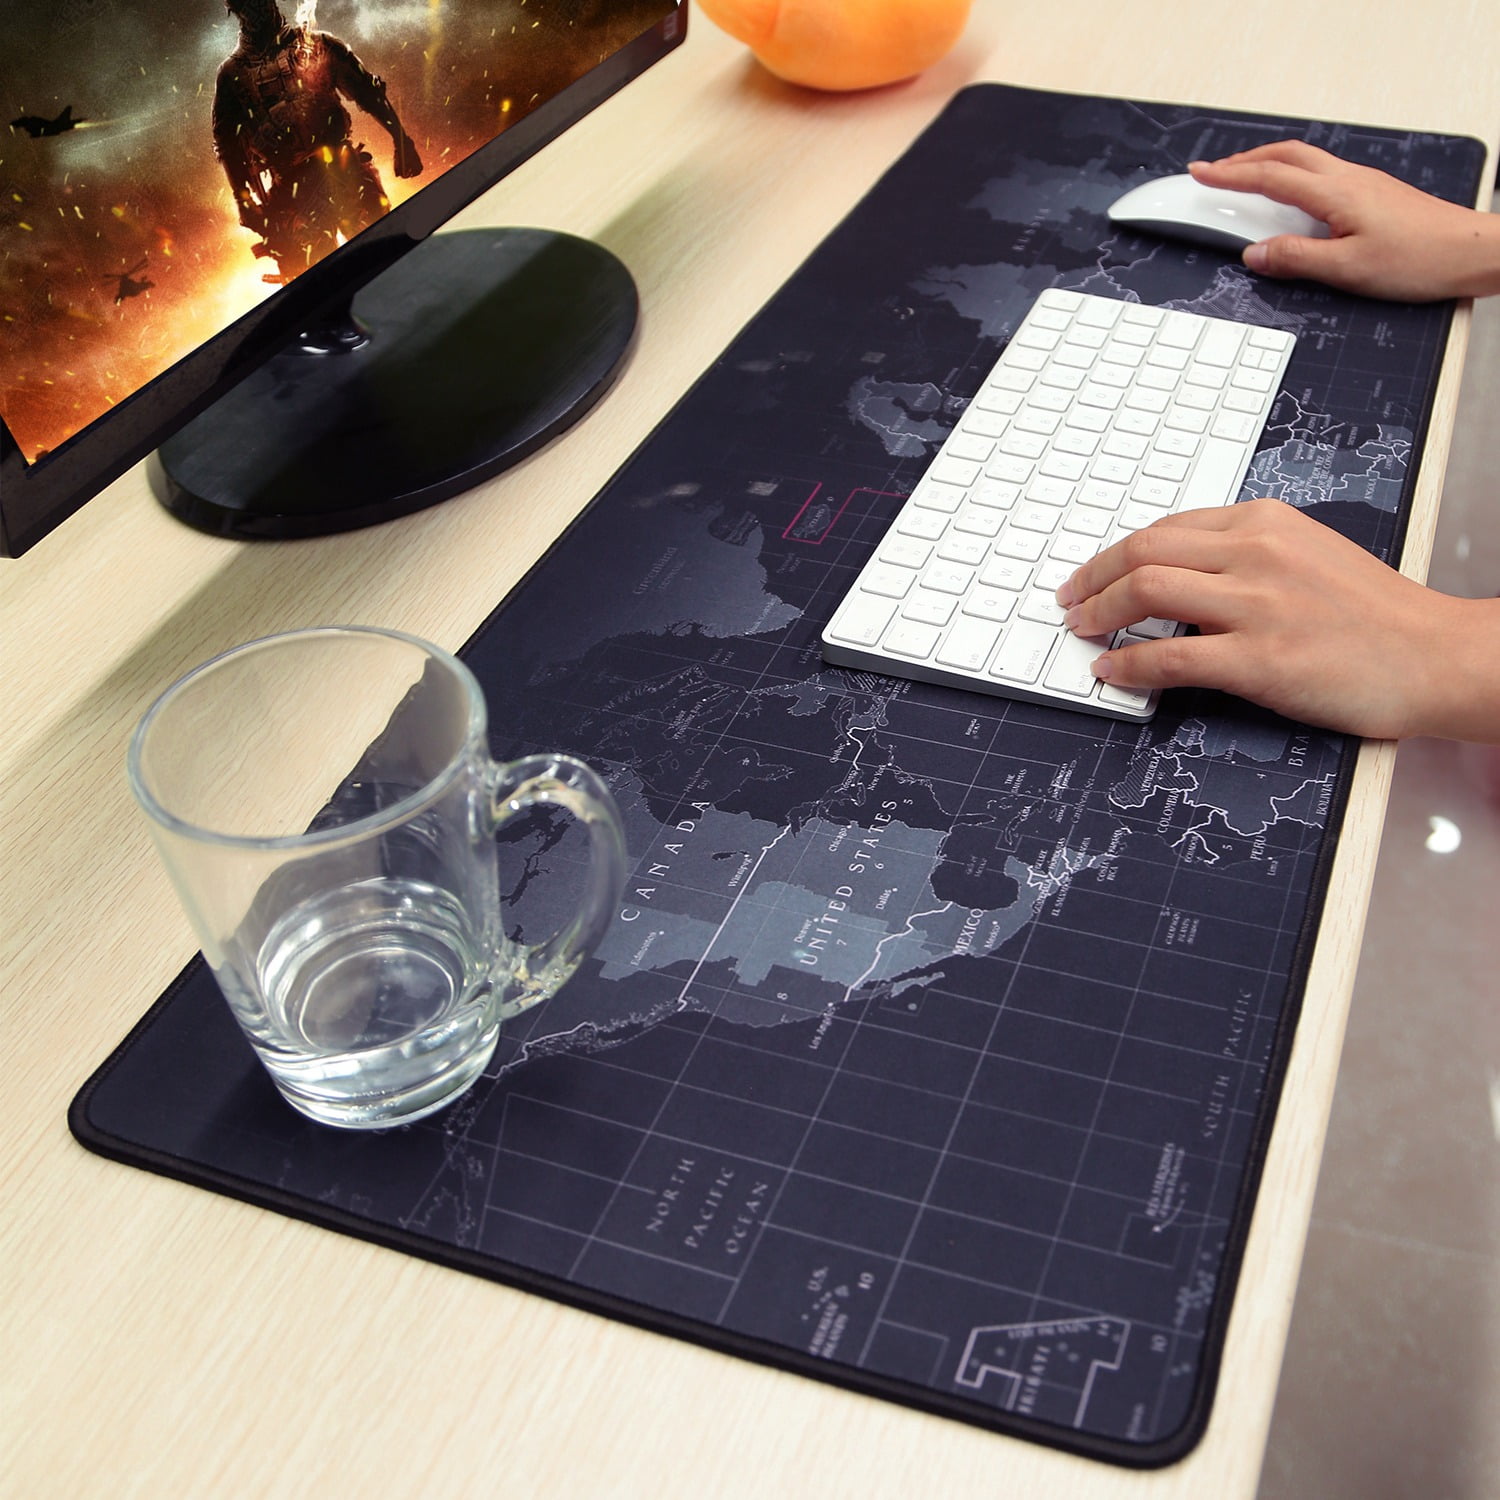 In today’s digital age, a mouse pad might seem like a simple accessory, but it can play a crucial role in enhancing your computing experience. Whether you want to showcase your artistic flair or create a functional workspace that reflects your style, crafting a custom mouse pad is a fun and easy DIY project. Here’s a step-by-step guide to help you create a personalized mouse pad that suits your unique taste. In today’s digital age, a mouse pad might seem like a simple accessory, but it can play a crucial role in enhancing your computing experience. Whether you want to showcase your artistic flair or create a functional workspace that reflects your style, crafting a custom mouse pad is a fun and easy DIY project. Here’s a step-by-step guide to help you create a personalized mouse pad that suits your unique taste.Materials Needed To embark on your journey of mouse pad creation, you’ll need a few essential materials: Base Material: A piece of thick cardboard, an old mouse pad, or soft foam sheet (around 1/4 inch thick). Fabric: Choose a colorful fabric or print that resonates with your personality—cotton, felt, or even a textured material can work well. adhesive: Fabric glue, spray adhesive, or double-sided tape for securing the fabric to the base. Scissors: For cutting your materials to size. Ruler and Pencil: To measure and mark dimensions. Optional: Decorative items such as stickers, paint, or markers to personalize your pad. Step-by-Step Instructions Measure and Cut: Begin by deciding the size of your mouse pad. A standard mouse pad is typically 9 inches by 7.5 inches, but you can customize it to your liking. Use a ruler and pencil to mark your desired dimensions on your base material. Cut the base material carefully with scissors. Select and Cut the Fabric: Next, choose a fabric that you love. Lay the fabric flat and place your cut base on top. Make sure there’s enough fabric to wrap around the edges of the base—approximately an inch extra on each side. Cut the fabric to size. Adhesive Application: Apply adhesive to the base material. If you’re using fabric glue, spread it evenly across the surface. For spray adhesive, hold the can about 6 inches away for an even coat. Attach the Fabric: Place the fabric onto the adhesive-coated base, starting from the center and working your way out to avoid air bubbles. Gently press down the fabric, ensuring it adheres well to the base. Fold and Secure Edges: Wrap the excess fabric around to the underside of the base. Apply adhesive to the underside and press the fabric firmly to create a smooth finish. If using a foam sheet, you can skip this step, as the foam will provide a rounded edge. Customize: Now comes the fun part—personalization! Use paint, markers, or stickers to add your unique flair. Draw patterns, write motivational quotes, or simply embellish it with your favorite designs. Allow any paint or decorations to dry thoroughly. Final Touches: Once everything is dried and set, flip your mouse pad over and check for any rough edges. If needed, trim any excess fabric for a clean finish. Conclusion Making your own custom Dragon Rug Mouse Pads pad is not only a clever way to enhance your workspace but also a fulfilling creative outlet. You can create something that truly speaks to your personality and sets the tone for your productivity. Plus, this DIY project is perfect for customizing gifts or simply sprucing up your home office. So, gather your materials, unleash your creativity, and enjoy crafting a mouse pad that’s uniquely yours! |
||